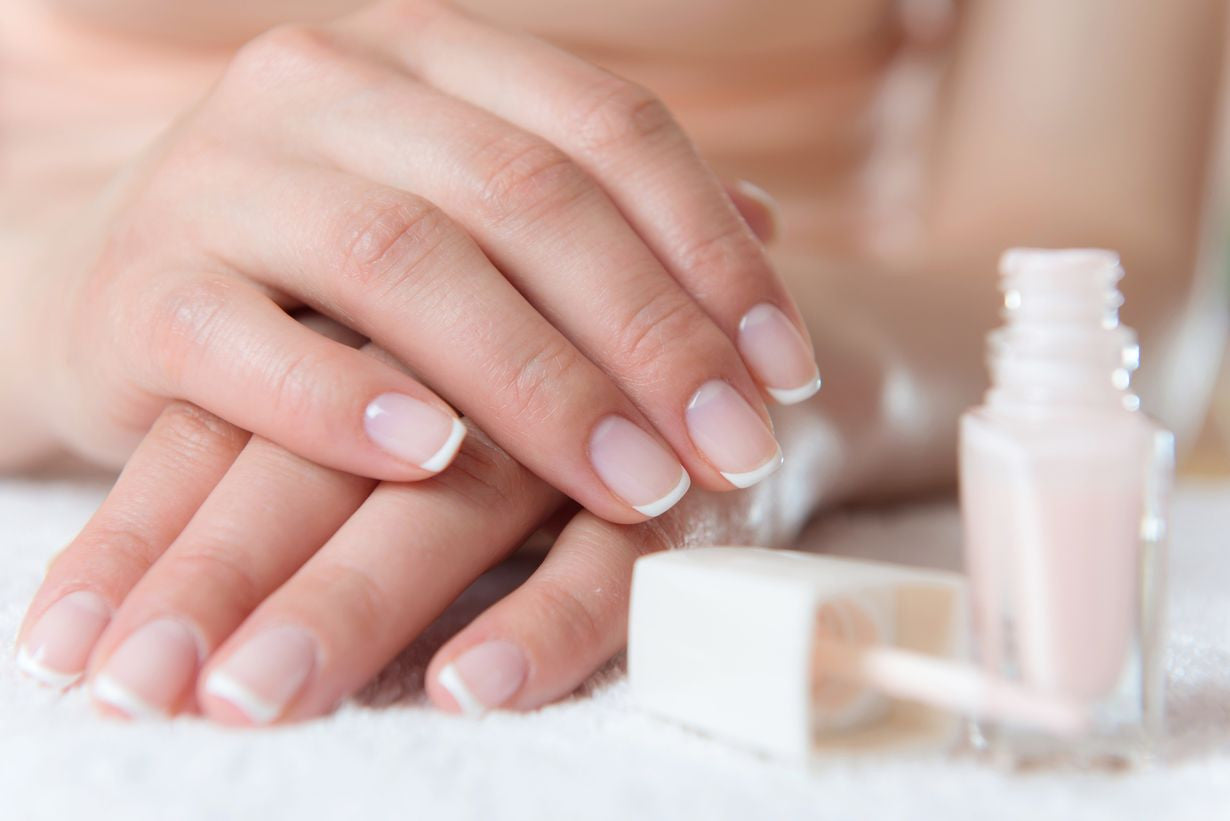
French manicures are one of the most elegant and versatile nail designs out there. But paying upwards of $50 for a professional to do it can add up. Here is a way you can give yourself a french manicure so you can have that professional look without ever having to step into a salon.

- Remove any old polish from your nails. We need to have a clean surface to work with and that old polish needs to go. Be sure and use an acetone free nail polish remover to get that old polish off.
- Cut and file your nails. Once they are clean get them to be the right shape. Use something around 240 as a finishing grit and don't forget to remove those ridges on the top of your nails. After they are the right shape you will want to buff the tops.
- Push back those cuticles. The cuticles need to be out of the way so we can apply a smooth looking finish to the top of the nail. Cuticles help to keep out disease and bacteria that could permanently damage your nail bed so do not cut them just push them back out of the way.
- Get those hands clean. Now that your nails are all prepped its time to remove any extra nail dust or dirt that may be lingering on your fingers. I like to use a homemade sugar scrub.

Here is what you will need to make the sugar scrub:
- 1/2 cup or raw sugar. Raw sugar is processed less and has molasses in it which is great for your skin and nails.
- 1/4 cup of fractionated coconut oil
- 2 tablespoons of lemon juice. If you can use fresh lemons that would be best. Take the spent lemon slices and rub them under and around your nails to get them extra clean and bright before you use the scrub.
- The last step is to add your essential oils. My favorite oils to use are Lavender, Tea Tree, and Cedarwood Atlas.
- Use 5 drops of each
5. Combine all ingredients into a bowl and mix with a utensil. After everything is mixed apply it to your hands and scrub over the sink. Scrub from 30 seconds to a minute making sure not to forget your nails. When you are finished rinse with cool water. It will leave your hands soft and ready to paint.
The next steps is the time for your artistic side to shine.
- Its time to apply the base coat. There are a lot of options for a base coat so try a couple and see which you prefer. Popular colors are clear, nude, pale pink, or cream. When you apply the base coat or any polish you should start in the middle of the nail and then one on each side. Paint in one straight line to keep it smooth looking. It helps the keep the nail you are painting flat on the table to prevent too much movement. Also if your nail is long enough take the base coat and polish all the way to the end of the nail and underneath. It should give it a little more durability and hopefully last longer.
- Paint the tips white. Time to put on that white polish. If you are more experienced you can try this free hand without any stickers. Place your finger in the table and rotate your nail when you apply the polish. Try and keep the brush in one spot as the nail you are painting rotates and it should help make that crescent shape you need. If you are less experienced you can pick up some stickers that are designed for french nails. If you are wanting to do this now and can't get to the store you can try a band aid or clear tape.
- Finish with a clear coat. All your hard work will need to be sealed in with a clear top coat.


